how to make paper flowers
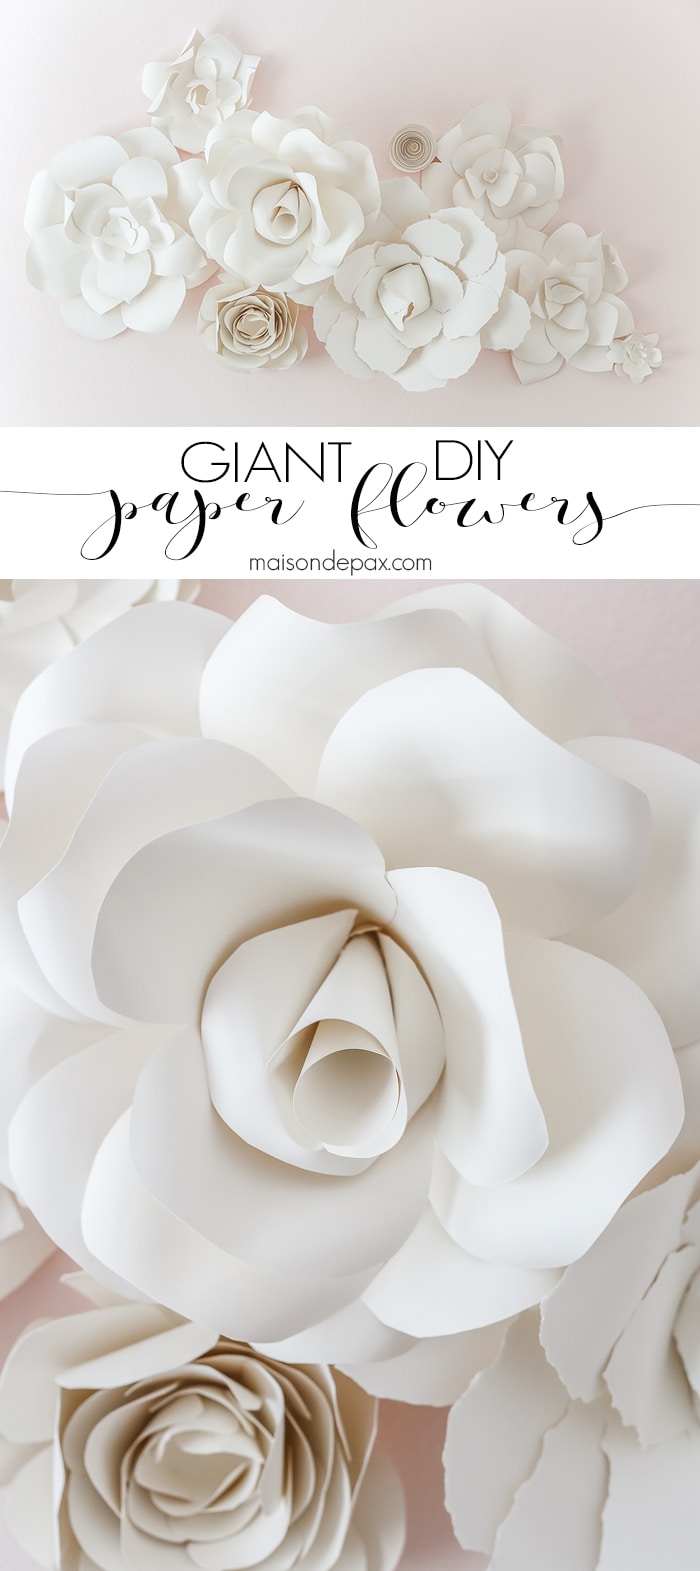
Looking for dramatic, elegant, affordable wall art? These diy giant paper flowers are simply stunning, and they would make the perfect backdrop for a wedding, party, nursery, little girl's room, or any elegant feminine space.
__________
I have been known to survive on dry shampoo and diet cokes.
And I often pretend I don't notice when my kids eat off the floor.
Heck, sometimes I even pick it up and give it to them myself.
The reality is, I'm not the most elegant, formal, refined gal around… But the paper flower wall I made for my daughter's new nursery has me feeling like pearls, heels, and champagne all the time.
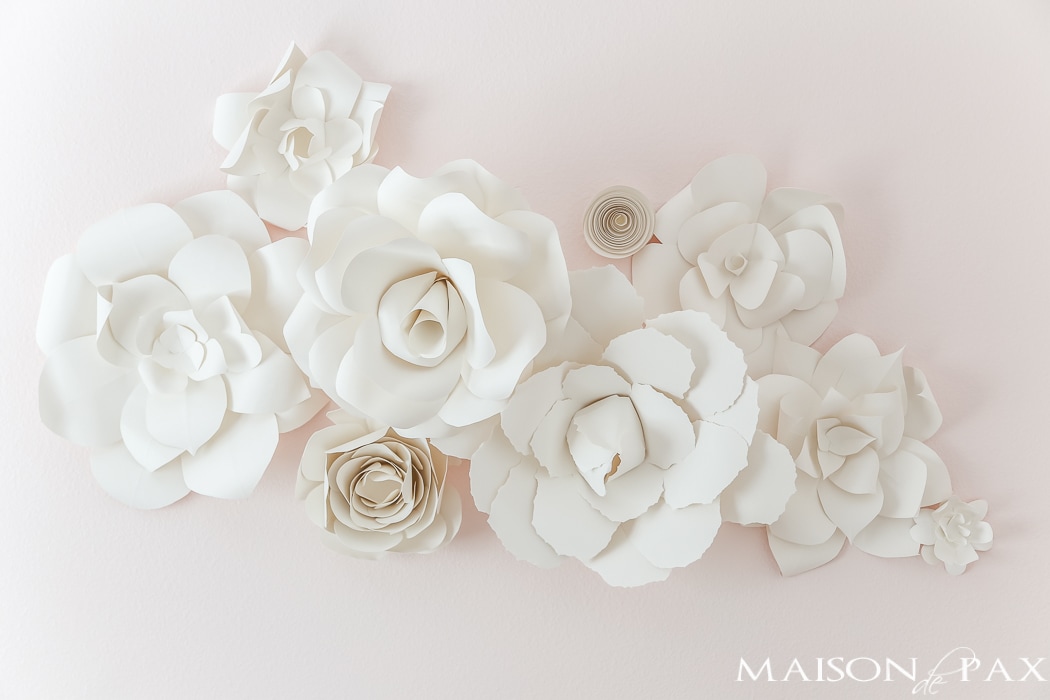
A friend asked me the other day at the carpool line at school what I'd been working on in the nursery lately, and when I showed her a snapshot of the flowers, she immediately asked when she could come over and bring wine and learn how to make some. So while she may still receive a personal workshop, I thought the rest of you might be interested, too. 😉
Rather than writing a step by step tutorial for all nine of the different flowers I made, I want to give you a general instruction for how to create giant paper flowers… The possibilities are endless! Also, I want to say that while I adjusted the size and some other details, I was particularly inspired by several tutorials, including this gardenia, this rose, and this ranunculus.
DIY Giant Paper Flowers Tutorial
Supplies:
- 12×12″ paper (see below)
- pencil with good eraser
- sharp scissors
- glue gun
- pipe or other smooth cylinder
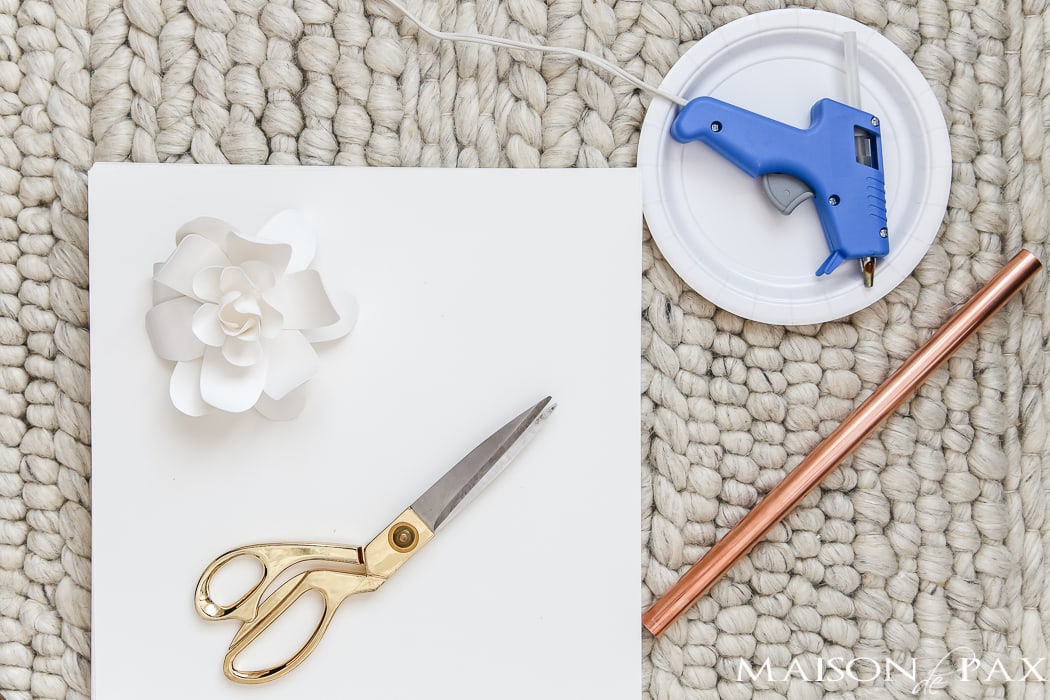
What paper to use for durable, beautiful wall flowers:
First things first, what paper to use. I admit that I've been drooling over these amazingly beautiful handmade flowers for years, but I couldn't justify $600 for paper wall art. So I did my research and found the perfect paper for this: French cotton paper in Natural (not too bright white, not too ivory) in 118lb weight. And at $30 for 50 sheets of 12×12 (which was enough for all the flowers you see plus a few extra sheets), I thought it was perfect.
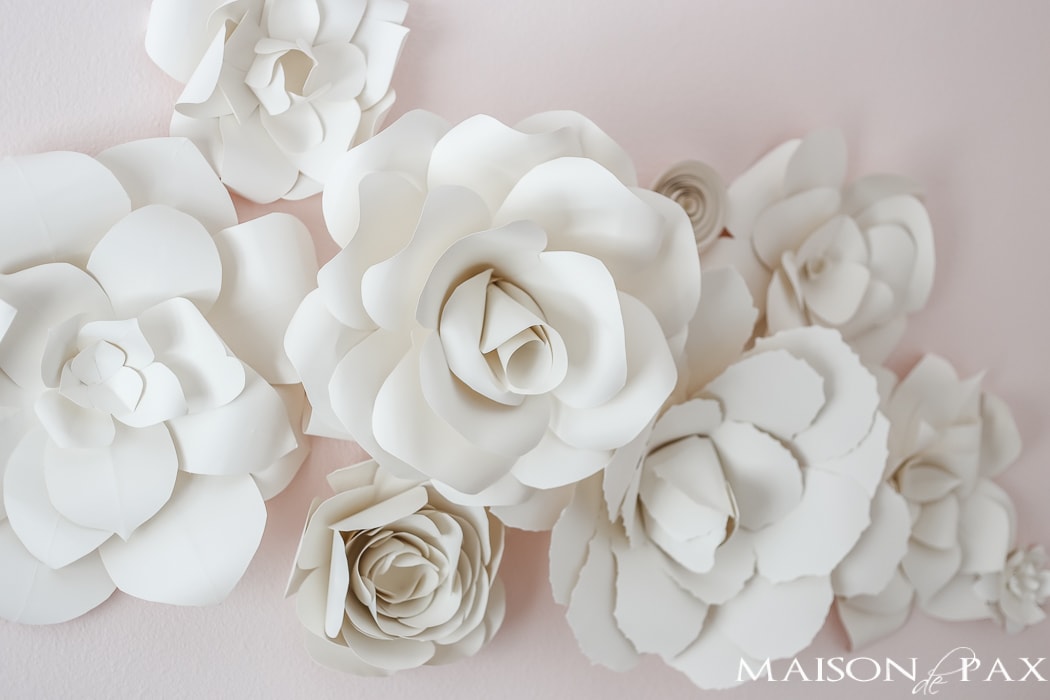
How to Make Giant Paper Flowers:
- Choose your size
- Cut out petals
- Create depth
- Glue in stacks
- Create a center
Choosing your size:
Most of the best paper flower tutorials I found were for life-size (or close to it) flowers, which meant that most of the pieces needed to make the flowers could be cut from just one or two pieces of paper. I obviously wanted a much larger scale for most of my flowers. For my wall, I made three basic sizes:
- 12″ radius (where only 1 or 2 petals were cut from a single 12×12 sheet)
- 12″ diameter (where a single layer of the flower is the width of the 12×12 sheet)
- smaller (where several layers of a single flower were cut from a 12×12 sheet)
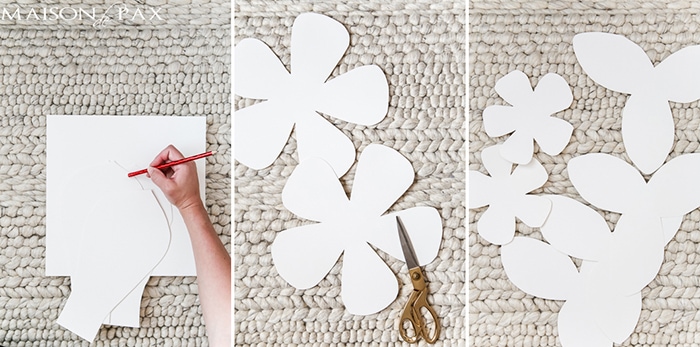
All of the options and suggestions below can be used on any of the three sizes. The only difference is how large you make your layers. For the largest flowers, you will cut out individual petals and glue them together to make your largest layers. For the medium flowers, you will cut your bottom layers as large as you can on a single 12×12 sheet. And for the smallest ones, you can start with any size layer you want. And for what it's worth, I simply sketched my petals lightly in pencil. The pencil marks are erased very easily.
Making your petals:
Once you have decided which size option you are making (and I suggest starting with smaller examples and moving larger), you'll need to decide the look of your petals. You have three basic options on your petals:
Creating depth:
This step is KEY to giving your flowers a natural look. You will want a nice, smooth, round cylinder of some sort (even a broomstick would work). I happened to have a portion of copper pipe leftover from my copper curtain rods which was perfect. You have three main options to create depth:
Gluing in stacks:
Second to the organic, curled edges, the stacking of the petals is probably the most important element in giving your flowers a natural look. You have basically unlimited options here, but I'm going to describe the three methods I used:
- pinwheel
Whether you start with flat petals, cup shaped petals, or cones, you will want to rotate your layers and glue so that the petals fill in the spaces between one another. For each flower, I started with at least two layers of the same size and number of petals (3, 4, or 5) and rotated enough to fill in between. Here I actually used four layers of 3 petals.
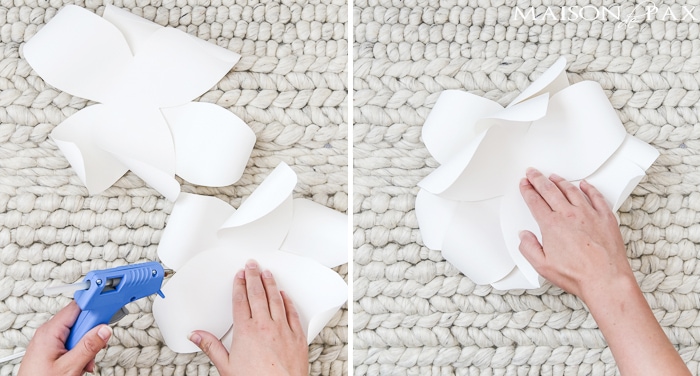
- drop in size
For subsequent layers, you can simply cut a slightly smaller version of the same number and shape of petals as your first two layers. I used this method on the full one that mimics a ranunculus.
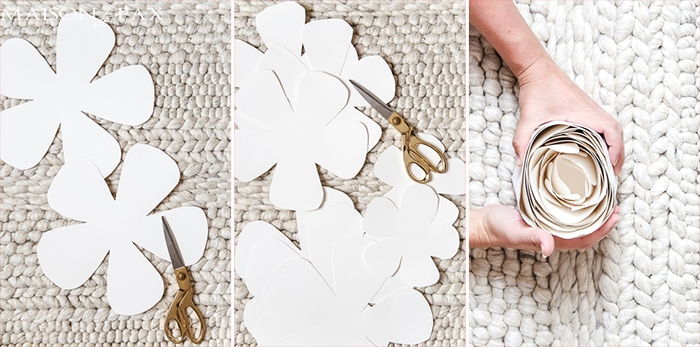
- change leaf number
Another option is to change the leaf number in differing layers. For example, in the flower below, I used four layers of 3 petals (pinwheeled and glued), one layer of 5 slightly smaller flat petals (pinwheeled and glued), and one layer of 5 slightly smaller flat petals made into an overlapped bud center (instructions in next section).
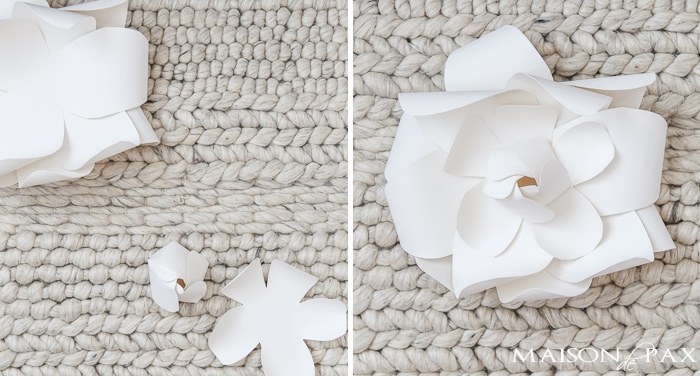
Creating a center:
The center is sometimes the trickiest, but can also be the most rewarding part. It is the finishing touch to your masterpiece. I used four different types of centers in the nine flowers I made:
And that's basically it! To give you one more way to think about it, though, I'm going to put one of the flowers into a full picture tutorial for you. Here is the start to finish process for one medium sized flower.
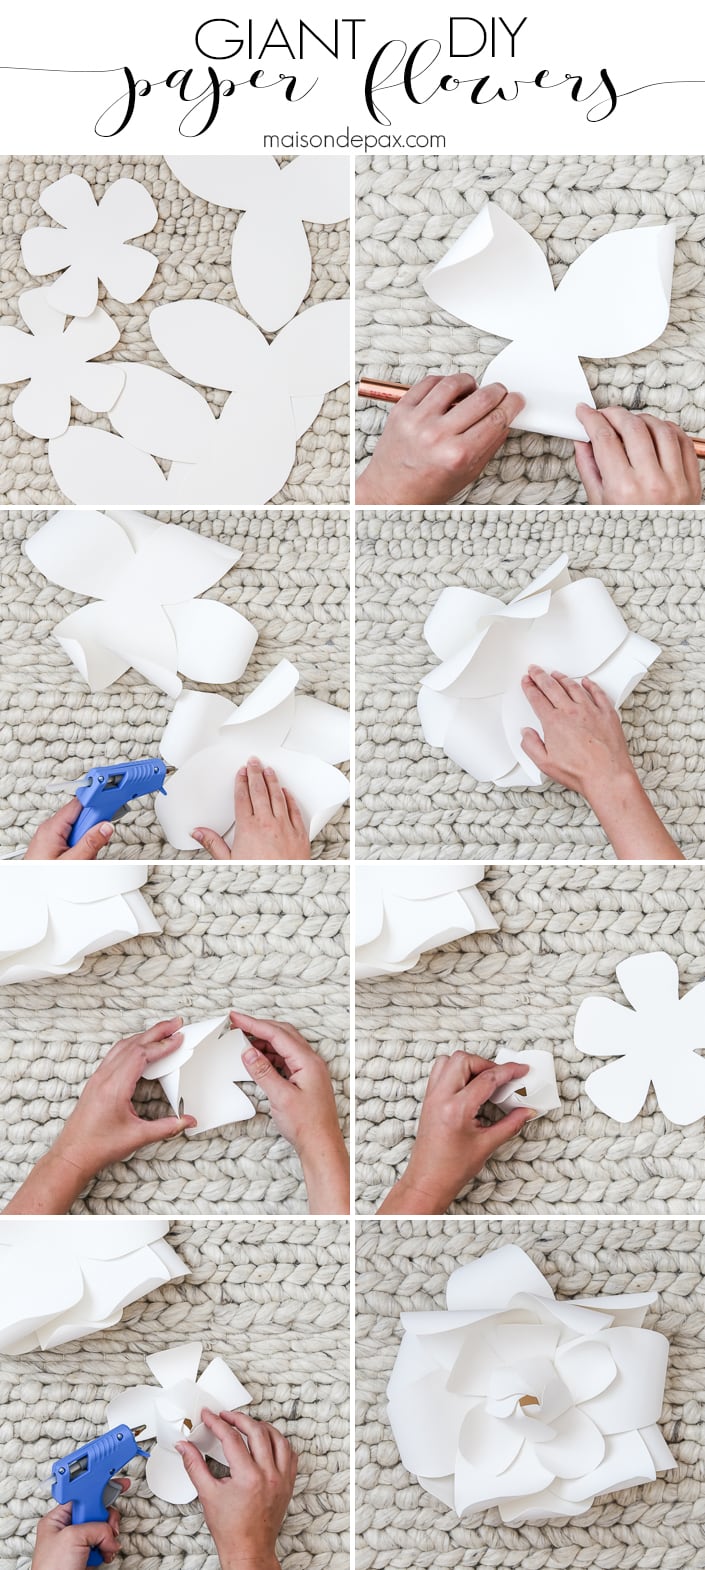
As I said, I wanted to give you room for your own creativity, but if you're the type of person that simply wants to know exactly what I did, here's a quick breakdown:
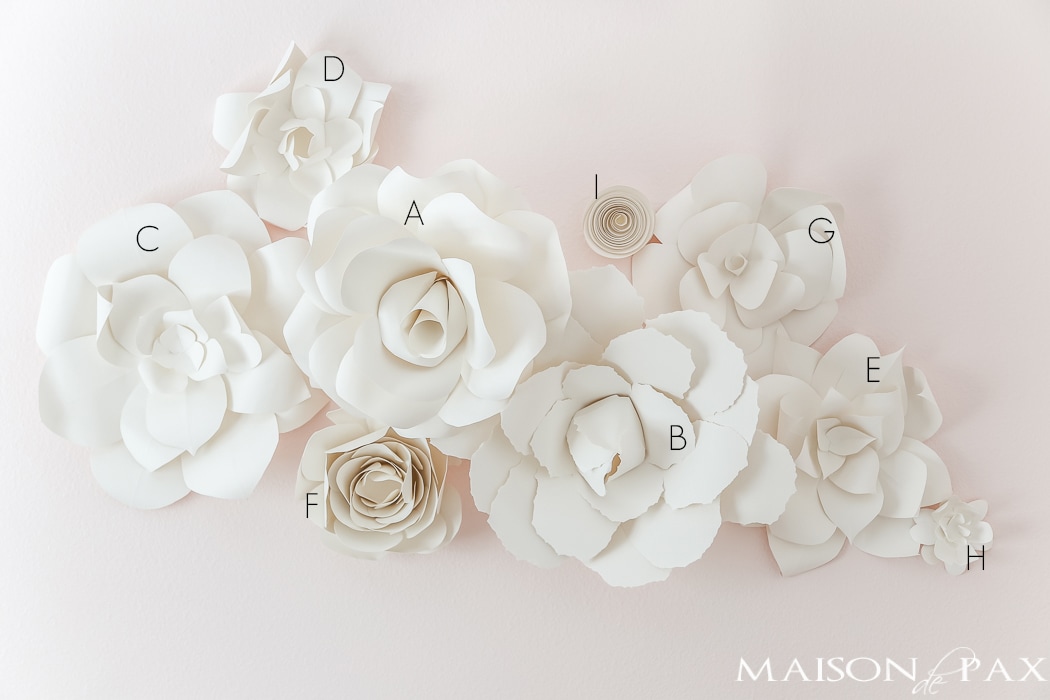
- 3 large (12″ radius) flowers:
- A – rose
petals: smooth cut with rounded edges and curled down diagonally in both directions
layers: two 5-petal cones, one 4-petal cone, one 3-petal cone
center: three single petals wrapped around a pencil - B – ripped rose
petals: ripped by hand and curled down; all except center were cut and glued to lift the edges
layers: two 4-petal large pinwheels, one 4-petal medium pinwheel, one 4-petal small pinwheel
center: one more 4-petal small pinwheel overlapped into a bud for center - C – magnolia
petals: smooth cut with pointed ends and folded down the center then curled every which way
layers:two large 4-petal pinwheels, one medium 4-petal pinwheel, one medium 3-petal pinwheel, one small 4-petal pinwheel with petals cut and glued to lift the edges
center: created with three small petals cut and glued to lift the edges
- A – rose
- 4 medium (12″ diameter) flowers:
- D – gardenia: (see full picture tutorial above)
- E – magnolia: see C above but use smaller pinwheels
- F – ranunculus
petals: smooth cut with slightly squared edges curled up
layers; three large 5-petal layers, three medium 5-petal layers, two small 5-petal layers; small layer overlapped into center "bud" and each subsequent layer wrapped around that one moving outward; all petals smashed a bit at end to create texture - G – camelia
petals: smooth cut with slightly squared edges curled every which way
layers: two large 4-petal pinwheels, two medium 3-petal pinwheels, one small 3-petal pinwheel
center: a single petal curled into a little cone, cut to fit, and glued into center
- 2 small flowers:
- H – gardenia: (see full picture tutorial above)
- I – spiral
I hope you enjoy making these as much as I did. Don't expect to have them all made in an hour. Give yourself chunks of time to work and time to walk away… But the result will be so worth it! And if you do make some, I'd love to see.
how to make paper flowers
Source: https://www.maisondepax.com/paper-flowers/
Posted by: mendessadamess.blogspot.com

0 Response to "how to make paper flowers"
Post a Comment